FAQ & Tips
Get answers to all the questions you have about MyBizMailerLast Updated: 9/24/2013 5:32:54 PM
How To Create An Autoresponder Series
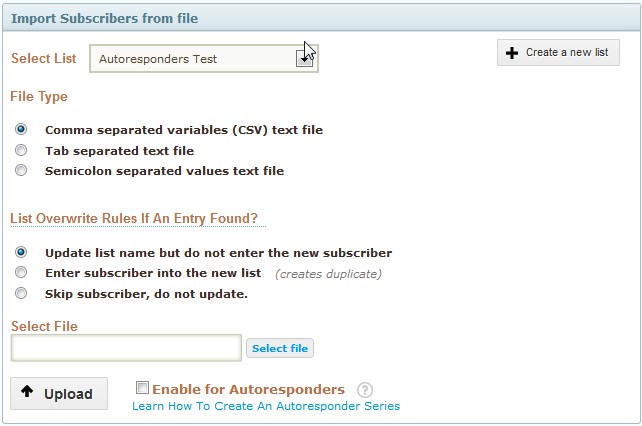
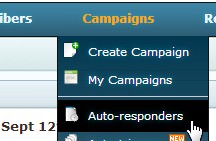
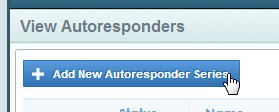
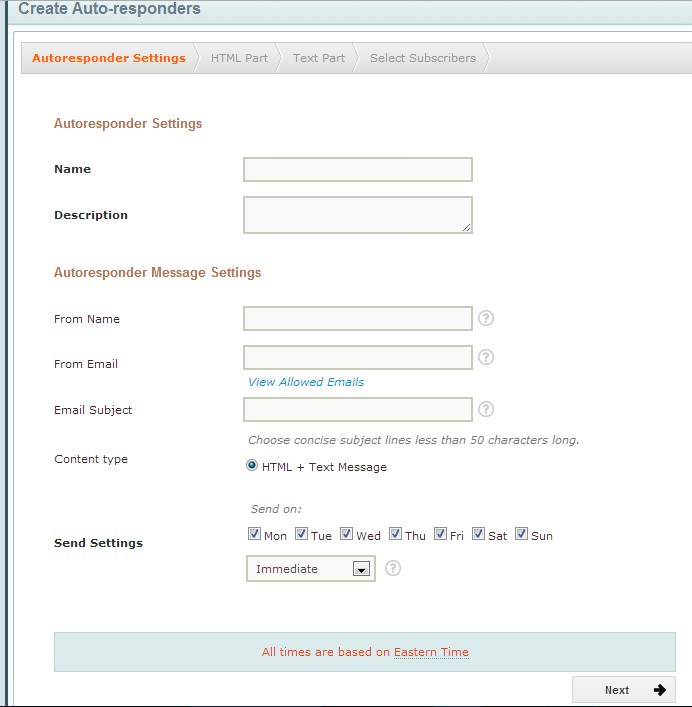
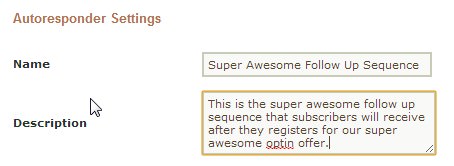
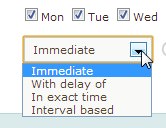
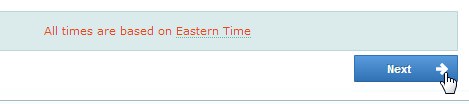
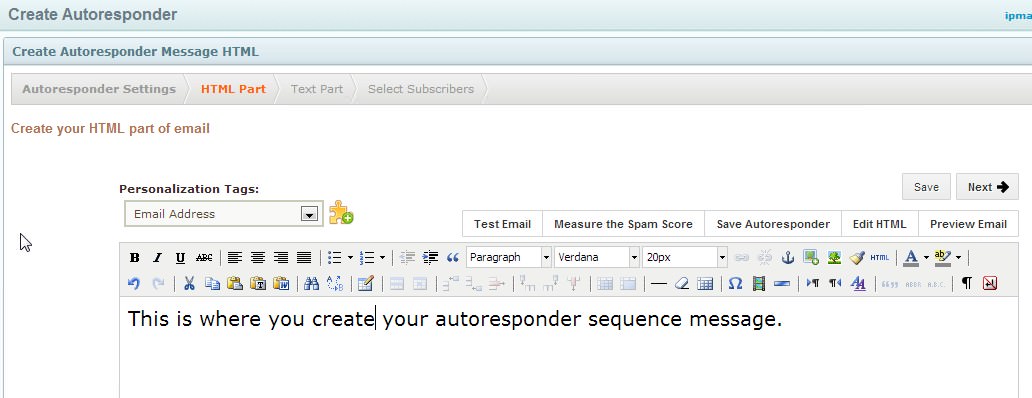
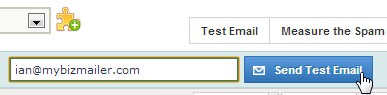
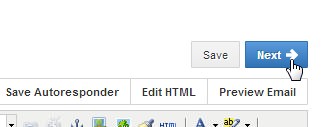
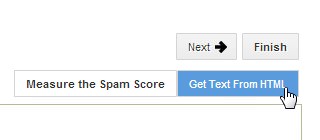
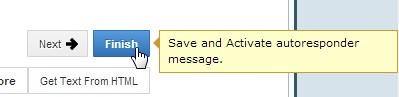
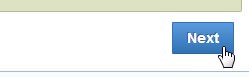
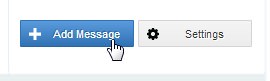
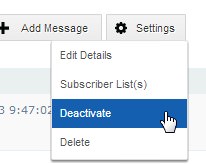
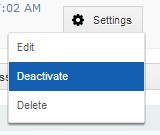
Step 1) Log into your account and locate the campaigns button in the nav bar and hover over it. A menu will display - click on the Auto-responders option Stept 2) A new page will load. Click on the button near the top left of the screen. Step 3) A new page will load that looks similar to this... Step 4) Fill in the first two sections on this page. Name: This is the actual name of the autorepsonder series that you're creating. Description: This is for internal use only and is more to help you remember and keep track of the series that you create. Step 5) Setting up the the message action settings is the next step we walk into. The From Name is just that- the name people will see when the email arrives in their inbox. This is one of the "Allowed Emails" that's directly associated with the account. The subject line is next. If you can't think of the subject line right away that's OK. There's no rush. You can just put anything you want in here for now and just fix it later on. This next part is is about telling the MyBizMailer servers what to do. In most instances you have 4 main sending options: 1) Immediate: This message will go out immediately to the subscribers once they confirmed their signup to your newsletter. 2) With delay of: This option let you select how many hour and days to delay the message. This uses the point of sign-up to the list as the base line for calculations 3) In exact time: This option let's you pinpoint the exact time you want to send out your message. 4) Inteval Based: (this option is not provided if you're creating the 1st message of an autoresponder series.) This is by far the most popular option to choose when setting up an autoresponder series. If this IS the 1st message in the series the majority of email marketers choose the "Immediate" option from the pulldown menu. So that the subscriber will receive the 1st message in the Autoresponder series after the subscriber to your newsletter. As you've probably also noticed is that you can pick and choose which days of the week this message goes out on. Don't want to send any messages on the weekend? No problem. Just uncheck those days from the week. Step 6) A new page will load with the WYSIWYG editor. Craft your autoresponder message now. Once you've finished crafting your message it's a good idea to send yourself a test. Toward the top of the WYSIWYG editor you'll see a button named "Test Email" click that button and you should see an option appear that'll let you send a test message now. After the test email has been sent click on the "Next" button located at either the top or the bottom right of the WYSIWYG editor. A new page will load. This is where you create the plain text version of your message. For this step click on the "Get Text From HTML" button. This will pull in the text from the message your created in the previous step. Make sure everything looks OK in the text version of your message the click on the "Finish button. Step 7) You will now be taken to a page to select the list that you'd like this autroresponder series associated with. Select the list and then click "Next". You will now be redirected back to the main autoresponder page. You should now see the "Autoresponder Series" that you've created and the 1st message that you created within that series as well. To create/add additional messages to the series just click on the "Add Message" button. If you'd like to edit the Autoresponder series settings just click on the "Settings" Button associated with that series. If you'd like to edit any of the messages within an autoresponder series all you have to do is click on the "Settings" button associated with that message. You can activate and deactivate a whole autoresponder series or even a message within that series. To Deactivate and Autoresponder Series Find the series and click on the "Settings" button. Then click on the "Deactivate" option. To Deactivate An Autoresponder Message Find the message and then click on the "Settings" button. Then click on the "Deactivate" option. If there are already pre-existing subscribers on that list they will NOT receive the autoresponder series. Whenever a new subscribers opts-into that list though they will begin to receive the autoresponder series that you're setting up. As well, if you import subscribers to that list and select the "Enable for Autoresponders" options as shown in the image below during the import they will begin to receive the autoresponder series based on the parameters you've set above.
Creating the Actual Autoresponder Series Container
Creating the 1st Message In the Series

Send Settings
![]()

Creating the Actual Message
Selecting the List (There's additional info below about your lists and how the autoresponders work with them)
All Done

How To Add Additional Messages to the Series
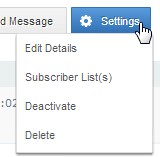
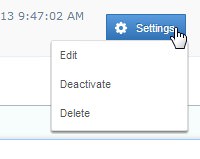
Activating & Deactivating Autoresponder Series And Messages
Sidenote: Additional Info In Regards to Your Lists and Autoresponders...