FAQ & Tips
Get answers to all the questions you have about MyBizMailerLast Updated: 1/3/2014 4:26:53 PM
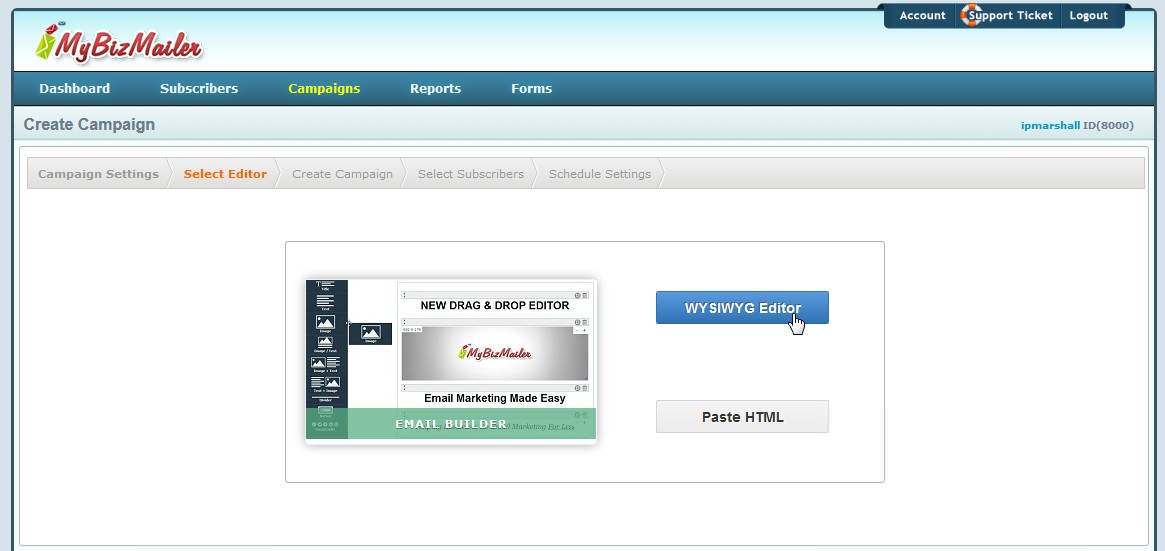
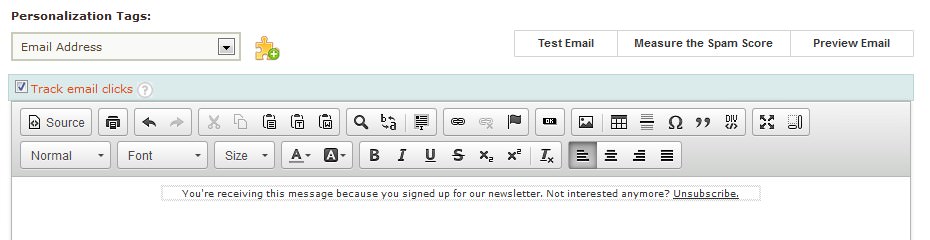
WYSIWYG: How to Create a Campaign Using the WYSIWYG Editor
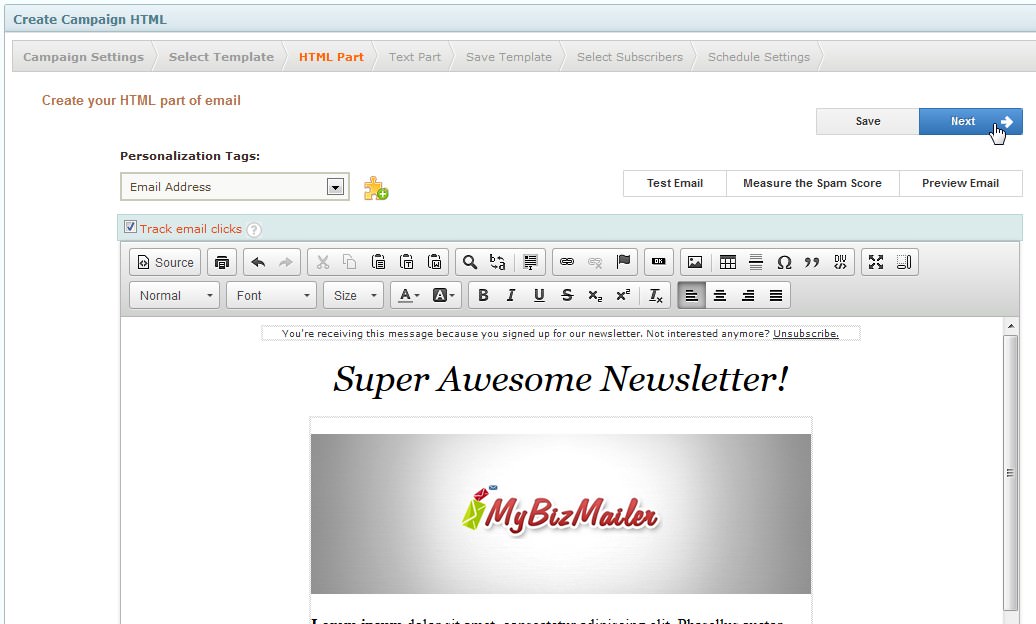
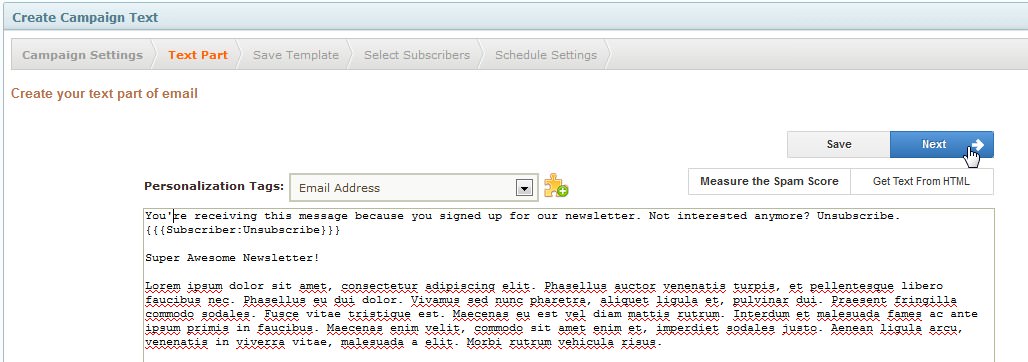
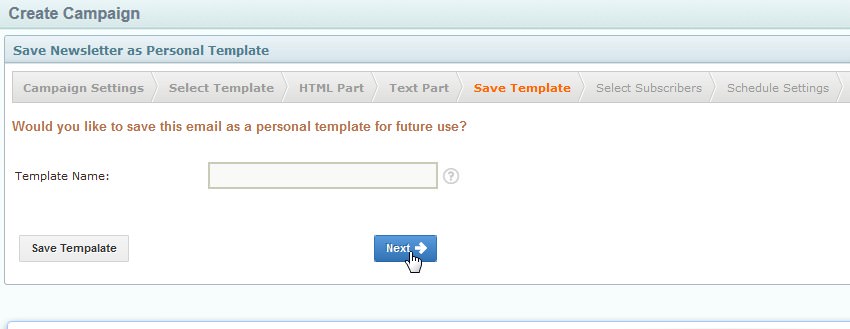
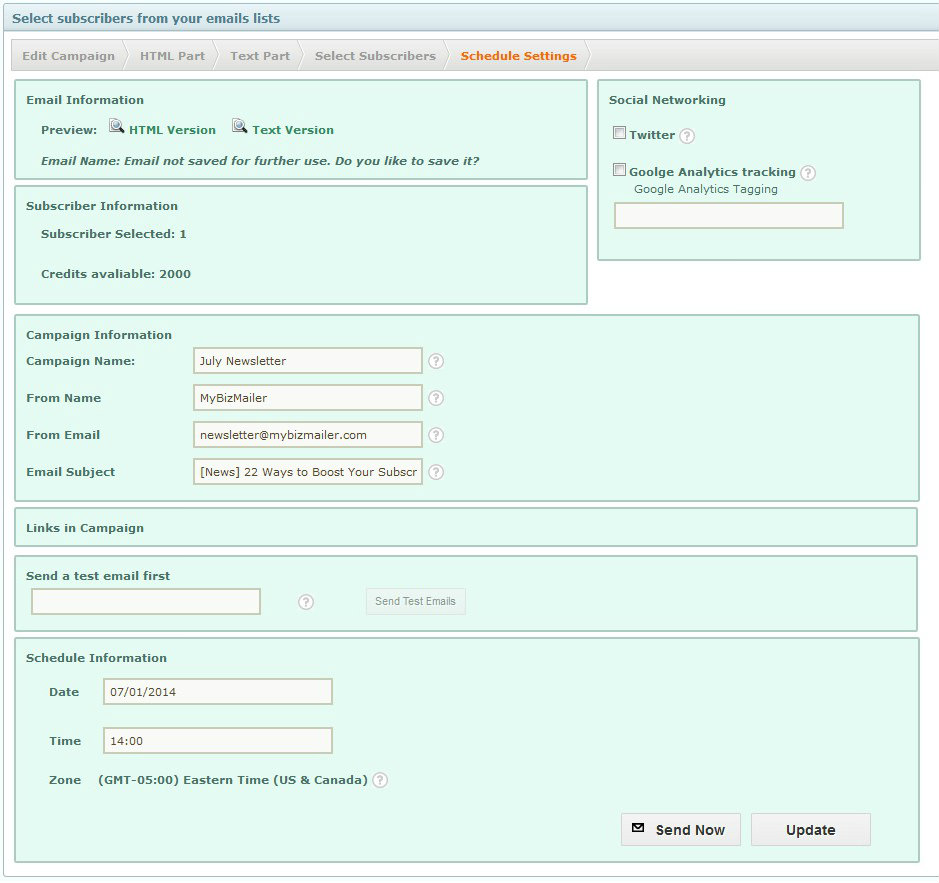
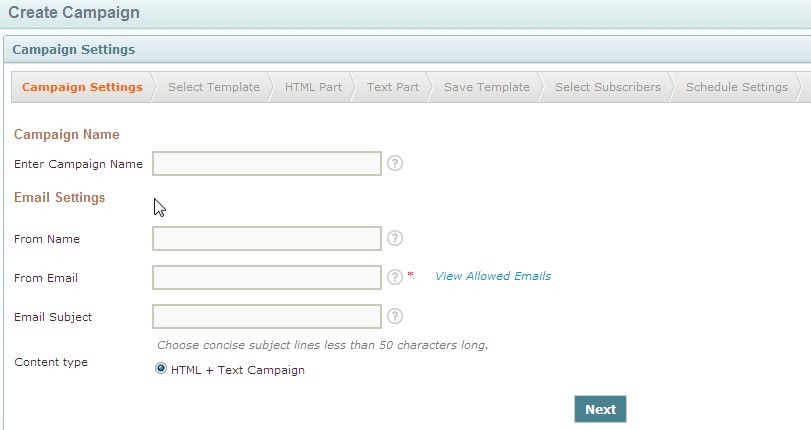
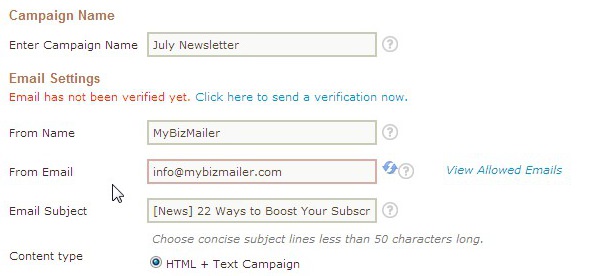
Below you will find step-by-step instructions on how to create a Campaign using the WYSIWYG Editor Step 1: Log into your MyBizMailer account Step 2: Hover over the Campaigns section of the menu bar and choose to "Create Campaign" Step 3. After you click on "Create Campaign" you will be taken to a page that looks like this: Please take a moment to fill in the required fields. Here's a screen shot of what the fields may look like for an upcoming newsletter campaign: After you've filled in the above fields click "Next". Step 4 - Select the Editor: On this page select the WYSIWYG Editor. Step 5 - Edit Your Email: Below you will find multiple resources and information on using the main functions of the WYSIWYG Editor Below you will find the resource article on how to use the major functions of the WYSIWYG editor and the quick links to the various sub-sections: http://mybizmailer.com/kb/Campaigns/how-to-use-the-new-wysiwyg-editor Text/Font Related * How to Bold Your Text Image Related * How to Add an Image Hyperlinking * How to Add a Hyperlink Tables * How to Insert a Table Into Your Email Other * How to Add a Horizontal Rule to Your Email Message Step 6 - Verifying and Modifying the Text Portion of Your Email: Once you've edited your campaign to your liking click on the "Next" button. You will then be taken to the "Edit Text" step. Please take a moment to make sure that the text portion of your email campaign is the same as the HTML version you just created (It should be as this text portion is pulled directly from the previous step). Once you're happy with the Text portion of your email campaign click on the "Next" button. Step 7: You can save the email that you just created as a template for future use. If you'd like to do that enter a name for the template in the "Template Name" input field and then click the "Save Template" button. If not you can just click on the "Next" button. Step 8 - Select Subscribers: Once on the "Select Subscribers" page you have the ability to pick and choose the subscriber lists that you want to send your campaign to. You have the ability to send to multiple lists (any duplicate emails will NOT receive multiple emails). Select the list(s) that you want to send this campaign to and click "Next" button. Step 9 - Schedule or Send Now: After you've selected the subscribers lists for this campaign you will be taken to a page where you can verify all the elements of your campaign, include social status update functionality, add google tracking elements and finally schedule the time that this campaign should be delivered to your subscribers or Send it now. Once you've gone over all the elements of your campaign, scheduled the time for delivery and everything looks great click "Update". If you want to send the campaign right now click the "Send Now" button. Congratulations you've successfully created a Campaign!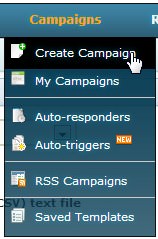
* How to Italicize Your Text
* How to Underline Your Text
* How to Change the Text Color
* How to Add A Highlight Effect to Your Text
* How to Change Your Font Type
* How to Change Your Font Size
* How to Make an Image Clickable
* How to Remove a Hyperlink
* How to Edit the HTML Code of Your Email
* How to Go to Full Screen Editing Mode
* How to Paste Information From Microsoft Word