FAQ & Tips
Get answers to all the questions you have about MyBizMailerLast Updated: 8/9/2013 11:03:18 AM
How to create a sign-up form for your website?
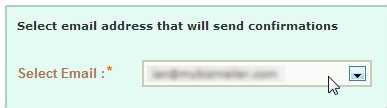
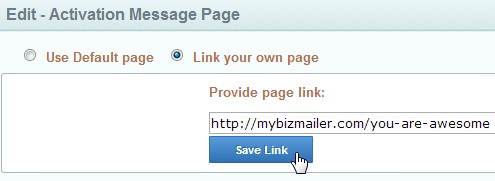
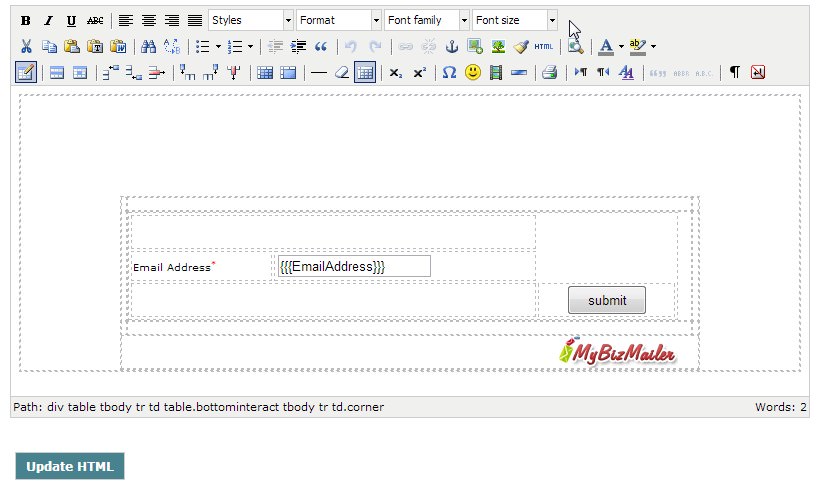
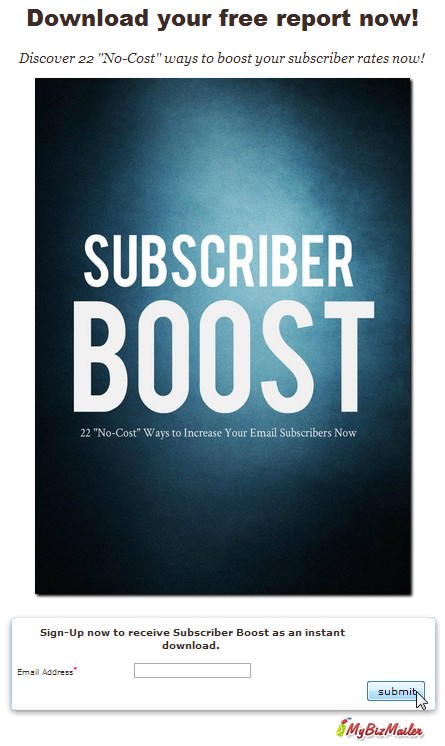
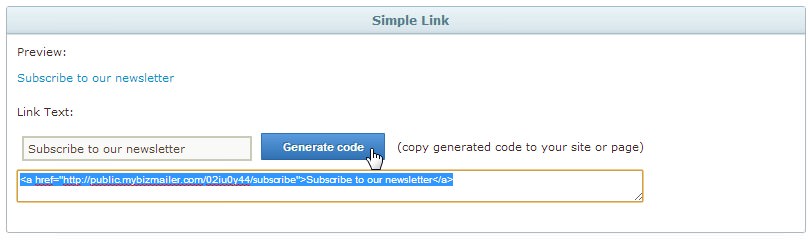
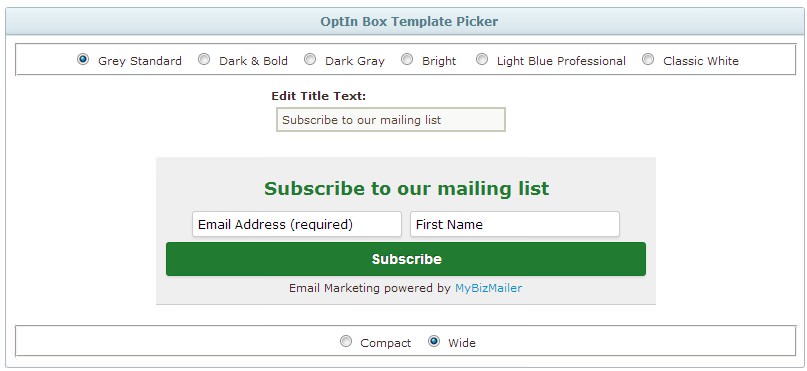
Looking for an easy way to create great looking sign-up forms for your website to integrate with your MyBizMailer account? This article will walk you through the step-by-step process of how to create sign-up forms that can be used on your website (including wordpress). Your Sign-Up Form Settings Next you'll be able to choose all the fields that you'd like to include in your sign-up form. At the very least you can choose to have just the email field be included in your sign-up form: Email Address For these next few steps it's best to think of them as a series of events. These events will be done in 5 stages: Stage 1: Subscriber Inputs Their Email Into a Form or Standalone Page Stage 2: Subscriber sees an "Almost Done" message letting them know to check their email. They're to look for a confirmation email from you in their inbox and to click on the link that's within that email to confirm they actually want to hear from you on a regular basis. Stage 3: The Confirmation Email Stage 4: The Confirmation Thank you Page Stage 5: The Welcome Email So now lets go over these steps one by one. Stage 1: Subscriber Inputs Their Email Into a Form or Standalone Page Stage 2: The "Almost Done" Message This message can be edited to your liking. Just click on the edit option of the Activation Message section. You can also point to a page on your own website: Remember that you'll have to create this page yourself if you choose the "Link to your own page" option. Stage 3: The Confirmation Email This is the 1st email that your subscriber will receive from you during the signup process. It contains relevant information about where they signed-up from and what actions to do next. Here's an example of the default message. This whole message can be edited however you like. Just click on the edit option of the Thank You (Double Opt-In) section. Stage 4: The Confirmation Thank you Page Your subscriber will see this page after they click on the link in the above email to confirm their subscription to your list. Here's an example of the default page This whole message can be edited however you like. Just click on the edit option of the Final - Thank You Page section. You can also point to a page on your own site: Remember that you'll have to create this page yourself if you choose the "Link to your own page" option. Stage 5: The Welcome Email This will be the final email that your subscriber will see during this 5 stage sign-up process. This email is all about welcoming and thanking your new subscriber for joining your mailing list. Here's an example of the default message that is sent out via MyBizMailer: And again, this whole email message can be edited to however you like. Just click on the edit option of the Welcome (Opt-In Confirmation) section. At first this 5 stage process may seem like a lot but it's essential to helping you maintain a clean and responsive list. As well this double opt-in method is standard practice right across the board now and helps you keep your complaint rates low. In the very least each and every form you create has its own stand alone web page that you can point people to. Check out the screen shot below of a minimal design version of this page or go to http://public.mybizmailer.com/02iu0y44/subscribe.aspx for an example. The good thing about this is that it's quick, and done for you. All you have to do is point your potential subscribers to it. All the elements on this page can be modified and styled easily using the WYSIWYG editor. All you have to do is click the "edit" button in the "Subscription Signup Page" section and you'll be taken to the editor. Here's a screenshot of the WYSIWYG Editor for "Subscription Signup Page": And with a couple quick tweaks to the page you can add a headline, sub-heading, images and text. Here's an example of a quick landing page that I just put together using the editor: There's three more ways that you can have people sign-up to your newsletter from your own website; This option generates a simple text link code that you can paste anywhere on your site. All you have to do is key in the text that you'd like made into a hyperlink in the "Link Text" box, click the generate button and then copy the generated code and paste it anywhere you like on your website. The Opt-In Box is one of the most popular ways to have people sign-up to your newsletter. You've probably seen these opt-in boxes in the sidebars of a lot of the blogs you read. With the Opt-In Box Generator you can now easily generate a block of code that then be quickly embedded anywhere within your site. All you have to do is choose the text that you'd like to display within your Opt-In Box and then click the generate button. We've got a lot of new updates in store for MyBizMailer over the next coming months. One of those updates that's been a long time coming has been a refresh and update to our Signup Forms. These six new opt-in forms are super-easy to place on your site. You can quickly select and generate the code and then copy and paste it into the sidebar of your website or the bottom of your blog posts. There's two size options for the new forms - compact or wide. Here's a look at the Standard Grey Opt-In Form in the Wide format. With the new Opt-In Box Template Picker you get the option to select from 6 different signup form styles. You can also choose "compact" or "wide" size options. Don't like the "Subscribe to our mailing list" message? You can easily edit it as well. Just begin typing in the "Edit Title Text" input area and you'll see your changes right away. After you've selected the Signup form style you like and editted the title message to one that works for your site click on the "Generate Code" button. Copy the text that's outputted and place it on your site. So there you have it. The complete process to creating and embedding a signup form for your website.
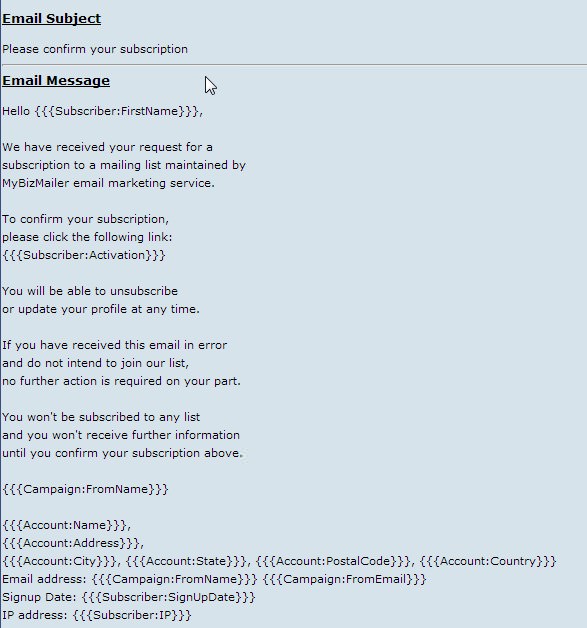
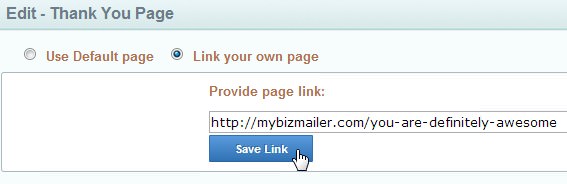
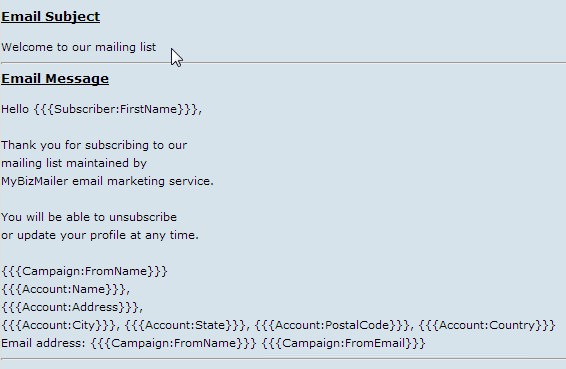
The Initial Emails & Pages (Almost Done Message, Confirmation Email, Thank you Page, Welcome Email)
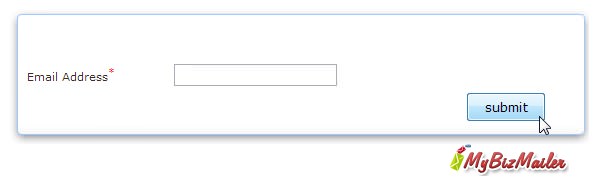
Designing The Actual Embed Form Your Sign-Up Form Settings
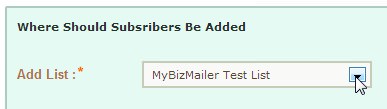
You will then be taken to the "New Form Settings and Fields Page" where you'll setup the main functionality of your sign-up forms.
Here's an example to show you what we mean: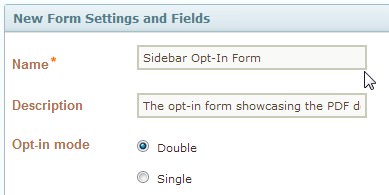
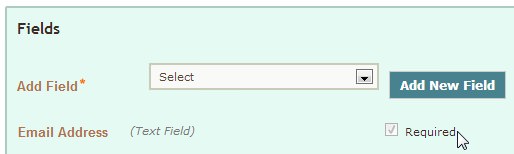
 In total there are 12 fields that you can include in your forms. Take a moment now to select the ones that you want to include on your form. The most popular fields that are included on most Opt-In Forms are Email Address, First Name and Last Name:
First Name
Last Name
Title
DOB
Company
Phone
Address
City
Description (Text Area)
Description (Checkbox)
Twitter
![]()

The Initial Emails & Pages (Almost Done Page, Confirmation Email, Thank you Page Email, Welcome Message)
We'll actually take care of the designing and styling of these Opt-In Forms below in the "Designing the Actual Embed Form" section that's after this one.
Your subscribers see this message after they fill in the required fields of your sign-up form and click the button to join your list. Here's an example of the default message that they will see: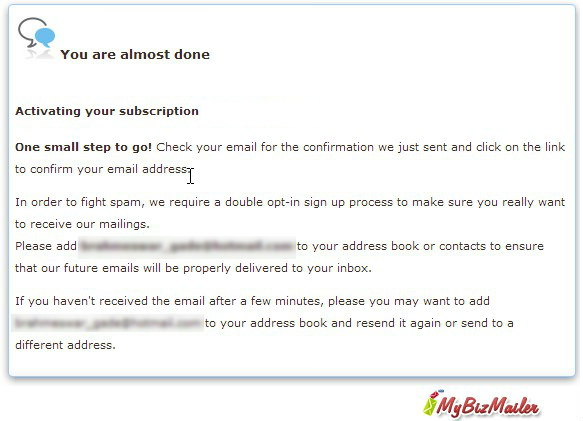


Designing The Actual Embed Form

2 More Ways
The Simple Link
The Opt-In Box
So the whole team is excited to let you know that we've got six new Email Signup Form templates that you can use right now on your site.New Opt-In Box Templates
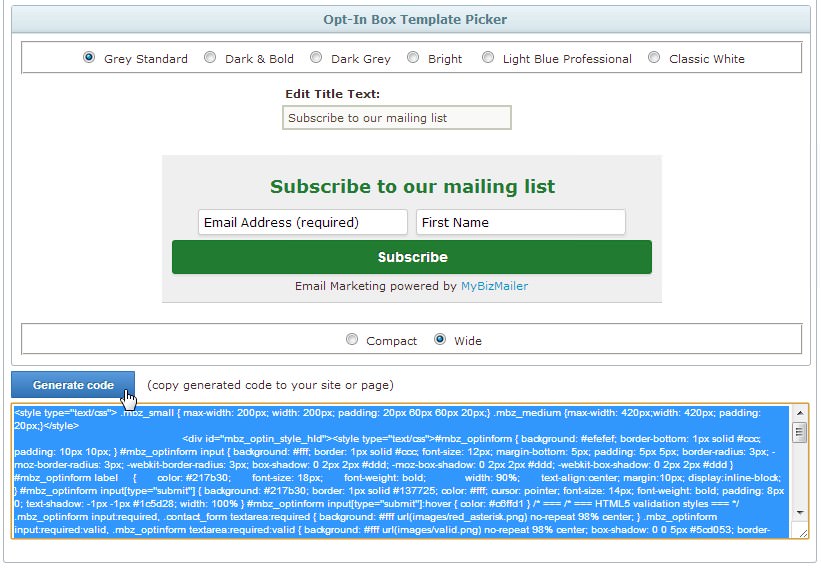
6 New Opt-In Forms
Here's A Quick Look At the New Opt-In Form Styles


Compact or Wide

Opt-In Box Template Picker and Code Generation