FAQ & Tips
Get answers to all the questions you have about MyBizMailerLast Updated: 11/1/2013 11:52:23 AM
How to Use the New Subscriber Re-Confirmation Process
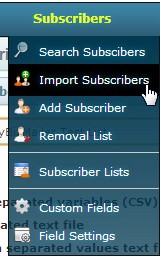
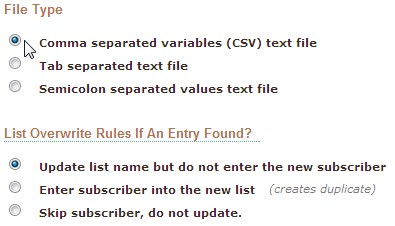
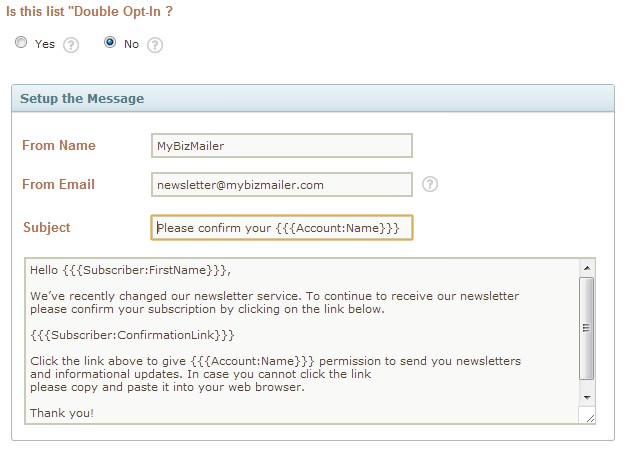
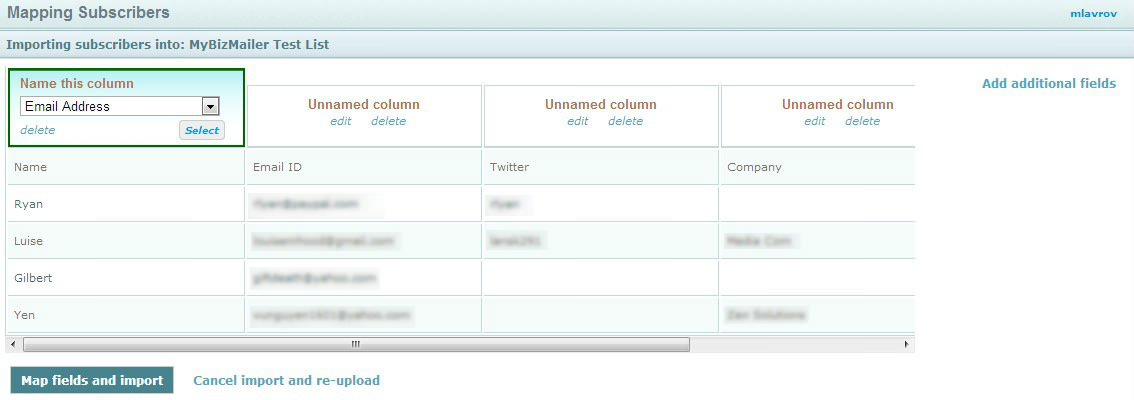
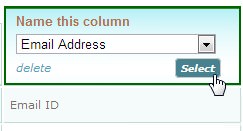
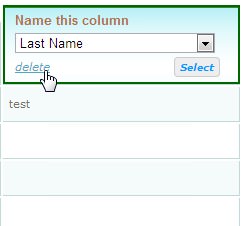
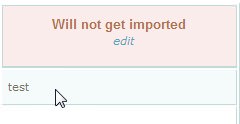
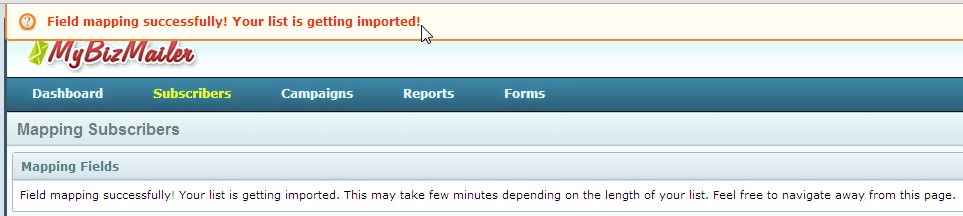
Please Note: If you you use this feature or any feature of the MyBizMailer platform to send out a campaign which generates high spam complaints your account will be suspended. The MyBizMailer platform is not to be used as a list cleaning service. Have your open rates started to drop? Have you encountered more and more hard bounced emails? Has it been a while since the last time you communicated with your subscribers? These are just some of the reasons why it may be a good idea to try out our new Subscriber Re-Confirmation Process. It's a simple and effective method to help you: * Reduce your spam complaints Years ago the size of your list was the key metric that anyone really talked (bragged) about in email marketing. But times have changed. Consumers mind-sets have changed. ISP's like Yahoo and Gmail have changed. And now one of the fundamental things that will really set you up for long-term success in email marketing is how engaged your subscribers are with the messages that you send to them. This new process is easy to implement and can automatically breathe new life into your online marketing campaigns while boosting your sender score reputation. So how can you implement the new Subscriber Re-confirmation Process? We'll walk you through the steps below. The Subscriber Re-Confirmation Process is baked right into the list importing process (if you need the full step-by-step guide on how to import your list click here). You'll need to have ready a list of subscribers that you want to put through this process (the two main file types that can be imported are "Comma Delimited" .CSV files or .TXT files). Step 1: Log into your MyBizMailer account and click on the "Import Subscribers" link that's under the "Subscribers" option in the main blue nav bar that runs across the top portion of the dashboard. Step 2: From the drop down menu located on the page please select the list that you'd like your re-confirmed subscribers to be added to. Step 3: After you've selected the list that you want your subscribers to be added to the next two options are the File Type and the List Overwrite rules. File Type: Select the file type that you have. (IMPORTANT!) List Overwrite Rules If An Entry is Found: You MUST select the "Update list name but not enter the new subscriber" option. Next Up is the Actual Subscriber Re-Confirmation Step 4: To Re-Confirm your subscribers select the "No" option in the "Is this list Double Opt-In?" step. You have the ability to set the "From Name" the "From Email" the "Subject Line" and you can tweak and modify the "Message" that will be sent out. The {{{Subscriber:ConfirmationLink}}} MUST stay within message. Once you've set up your confirmation message you will move onto Step 5. Step 5: In order to complete the Subscriber Re-Confirmation process, you'll need to select the file that is residing on your harddrive. Locate your file and click Upload. Step 6: This next step is Mapping the Subscribers you are re-confirming into MyBizMailer. After you clicked Upload earlier you should be taken to a page that looks like this: Mapping Subscribers is about having all the data shown matching up correctly. So we go column by column to ensure that the data is going to be mapped to the MyBizMailer servers properly. In our example we can see that the first column of imported data is the Name of our subscriber. So from the pull down field in the "Name This Column" highlighted box we want to select "First Name". See the example image below: Then we just go column by column matching up the imported data to the options available from the pull down menus. Here's an example mapping the email fields: If you happen to come across a column that does not have any information to import then it's highly recommended that you delete that column so that you don't import useless data. Once you click delete for this column you will see the following: Step 7: Once you’re done adding all the necessary information, click Map Fields and Import button. Step 8: After you've clicked on the "Map Fields and Import" button you should see a message similar to the one below. It is important to remember that the messages that are sent out during the Subscriber Re-Confirmation Process are counted toward the total messages that have been sent out from your account for that month.
* Keep your hard bounces to a minimum
* Have a purer and more responsive list
* Improve your sender score How to Use the New Subscriber Re-Confirmation Process