FAQ & Tips
Get answers to all the questions you have about MyBizMailerLast Updated: 11/26/2013 11:01:38 AM
How to Add a Button in the New Drag & Drop Editor?
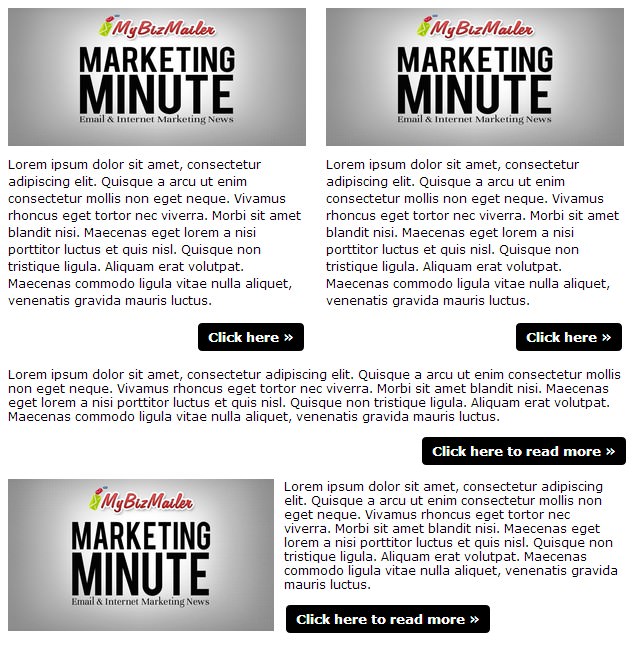
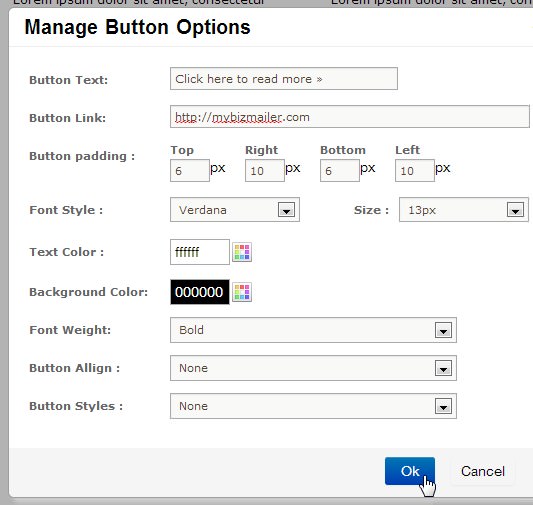
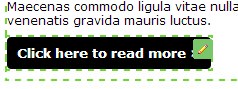
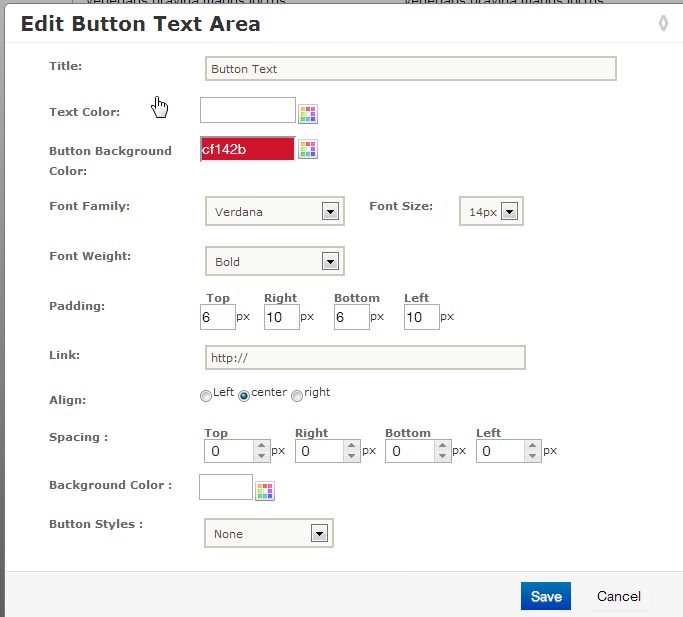
One of my favourite features of the New Drag & Drop editor is the ability to quickly and easily add buttons to your email marketing campaigns or newsletters. In this tutorial we'll walk you through the major ways that you can add buttons to your emails. Option 1: A Standalone Button Option 2: A Button Within Other Elements Click here to learn how to edit a button after it's been added to an element. If you want to add a standalone button to your email marketing campaign or newsletter here's how you do it: Step 1: Drag the Button element into the main area of the editor Step 2: Click on the Button to edit it to your liking Step 3: Edit the Button to your liking. As you can see you can change pretty much everything as it relates to your button. The main edits that most people will make to their buttons will include: Button Title Button Color Button Text Colour Button Link Button Alignment Once you've style your button to your liking click the "Save" button. To make further edits to your button all you have to do is click on the button again and the "Button Editor" will appear again. The four main elements that you can add a button to are: * The Text Element * The Image / Text Element * The Image + Text Element * The Text + Image Element Here's a quick look at some of these elements with the button option added to them: As you can see having a button within one of these elements can really add some visual impact. These buttons also make a handy call to action piece that draws the readers eye to where you want it to go. So how can you add a "Button" to one of these elements? Step 1: Click in the text area of the various elements Step 2: A new mini-window will pop-up. In that window you'll see a button that's labeled "Add Button" click that. Step 3: A new "Manage Button Options" window will appear. In this window you can set all the button elements that you'd like to adjust. Once finished click the "OK" button. You will now see your button in the text window. It should look similar to this... Click the "Save" button to insert your button into the element. How to edit a button after it's been added to an element? It's fairly easy to edit a button after it's been added to an element. All you have to do is hover over the button, click it, and then adjust the various attributes for it in the "Manage Button Options" window that appears. Here's a screenshot of what the button looks like when you hover over it. Once you see that little green square with the pencil you can click the button and begin to edit it's attributes. The MyBizMailer TeamOption 1: A Standalone Button


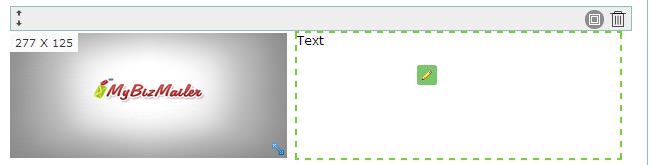
Option 2: A Button Within Other Elements
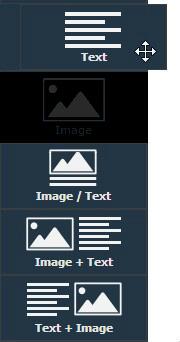 Aside from being able to drag and drop a button to a standalone spot within your campaign, you also have the ability to add buttons to various draggable elements as well.